
Before applying FormaHoof, make sure to pull off the horse's shoes and trim their hooves. It's important to ensure that the hooves are clean and free of any debris.
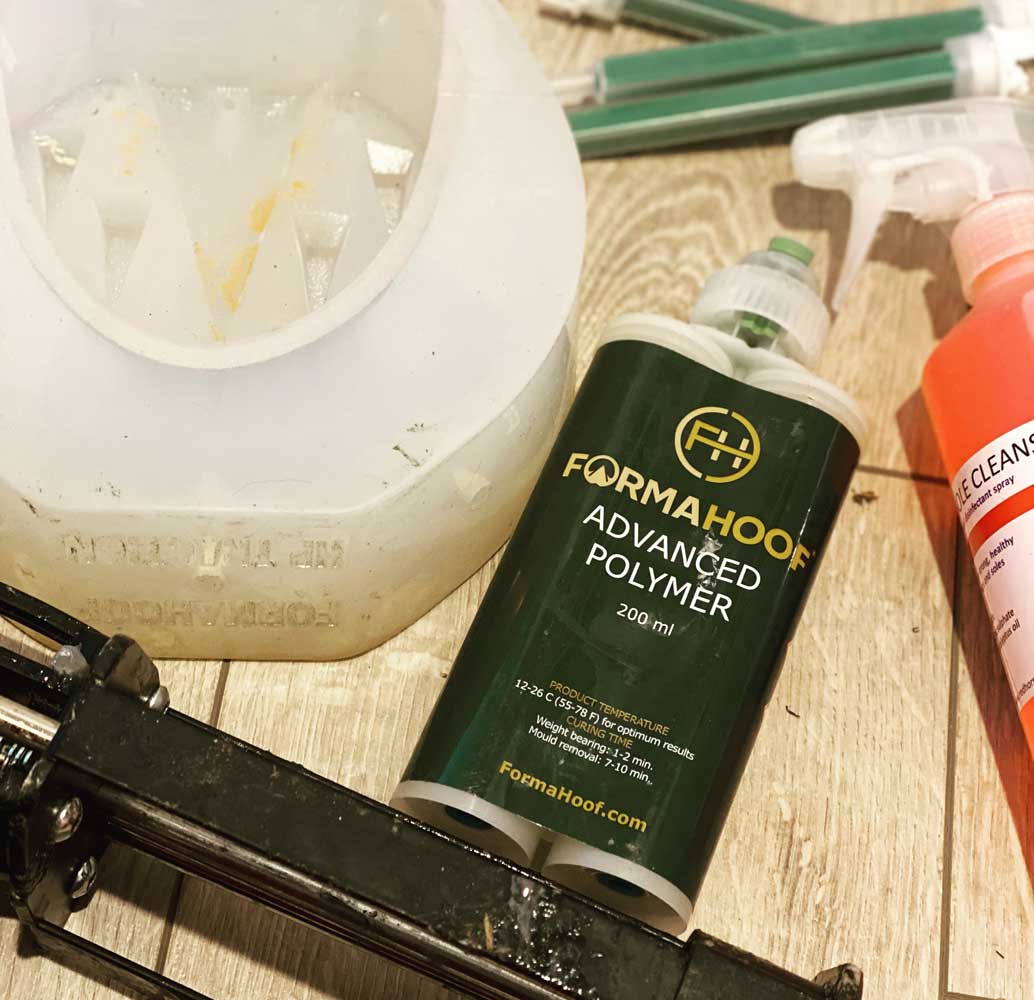
Add the Mixing Tips to the top of the tube of Advanced Polymer and place it in the Applicator Gun. Purge the tube by pulling the trigger until the Advanced Polymer is mixing correctly.

Make sure you have your FormaHoof Mould to hand and that it is free of any debris. Wrap the mesh (or Flex Mesh) around the prepared hoof and fit the mould. It's important to ensure that the top lip of the Mould is tight to the hoof, as it's the shape rather than adhesion that keeps the final application in place.

Beginning at the toe, and moving across the sole (toe to heel). Use the Applicator Gun to fill in the application points on the Mould with the Advanced Polymer. You should start at the toe and work your way around the sole before finishing with the application points around the sides. Make sure the Mould is completely filled with Advanced Polymer and it is normal to see overflow.

Within 7-10 minutes, the Advanced Polymer will be fully cured. The application points in the Mould will have some cured Advanced Polymer coming out of them, so to avoid damage to the Mould use a nipper to remove the excess where required. Carefully loosen the seal on the top line of the Mould (do not use a knife) and remove the Mould.
Clip off all remaining application points and clean off any excess material. Give the application its finish and make further adjustments if needed.

Start by cutting the Mesh to the appropriate size for the Mould. FormaHoof Moulds starting around size 4.5 will benefit from a two-layered fold before cutting to size

At the one end of the Mesh double back and then fold corners in; very much like starting to make a paper airplane. This creates a sort of pocket for the toe.

Wrap the Mesh around the hoof by placing the folded end at the toe and carefully positioning the rest of the Mesh around the hoof. Hold the Mesh firmly but gently pull it back towards the heel of the hoof to ensure a snug and secure fit.

Place the Mould over the mesh from toe to heel, and allow the horse to stand down into it to make sure it is in place and comfortable. This will give additional strength to the application to ensure that it is held together for the duration of the shoeing cycle.

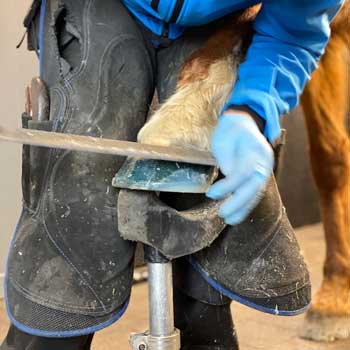
Remove the old shoe (if applicable) and use a rasp to gently file down the edges of the FormaHoof application, being careful not to rasp into the hoof wall. This will help to loosen the application and make it easier to remove.

Use your nippers to carefully loosen the seal of the application. Be sure to start at the heel and work your way towards the toe, making small cuts in the application as you go. This will help to avoid damaging the hoof wall.

Once you have loosened the application, you can begin to remove it from the hoof. It is best to start at the heel and pull gently towards the toe. Use a blunt pair of nippers if possible, as sharp nippers may cut through the application and damage the hoof wall.